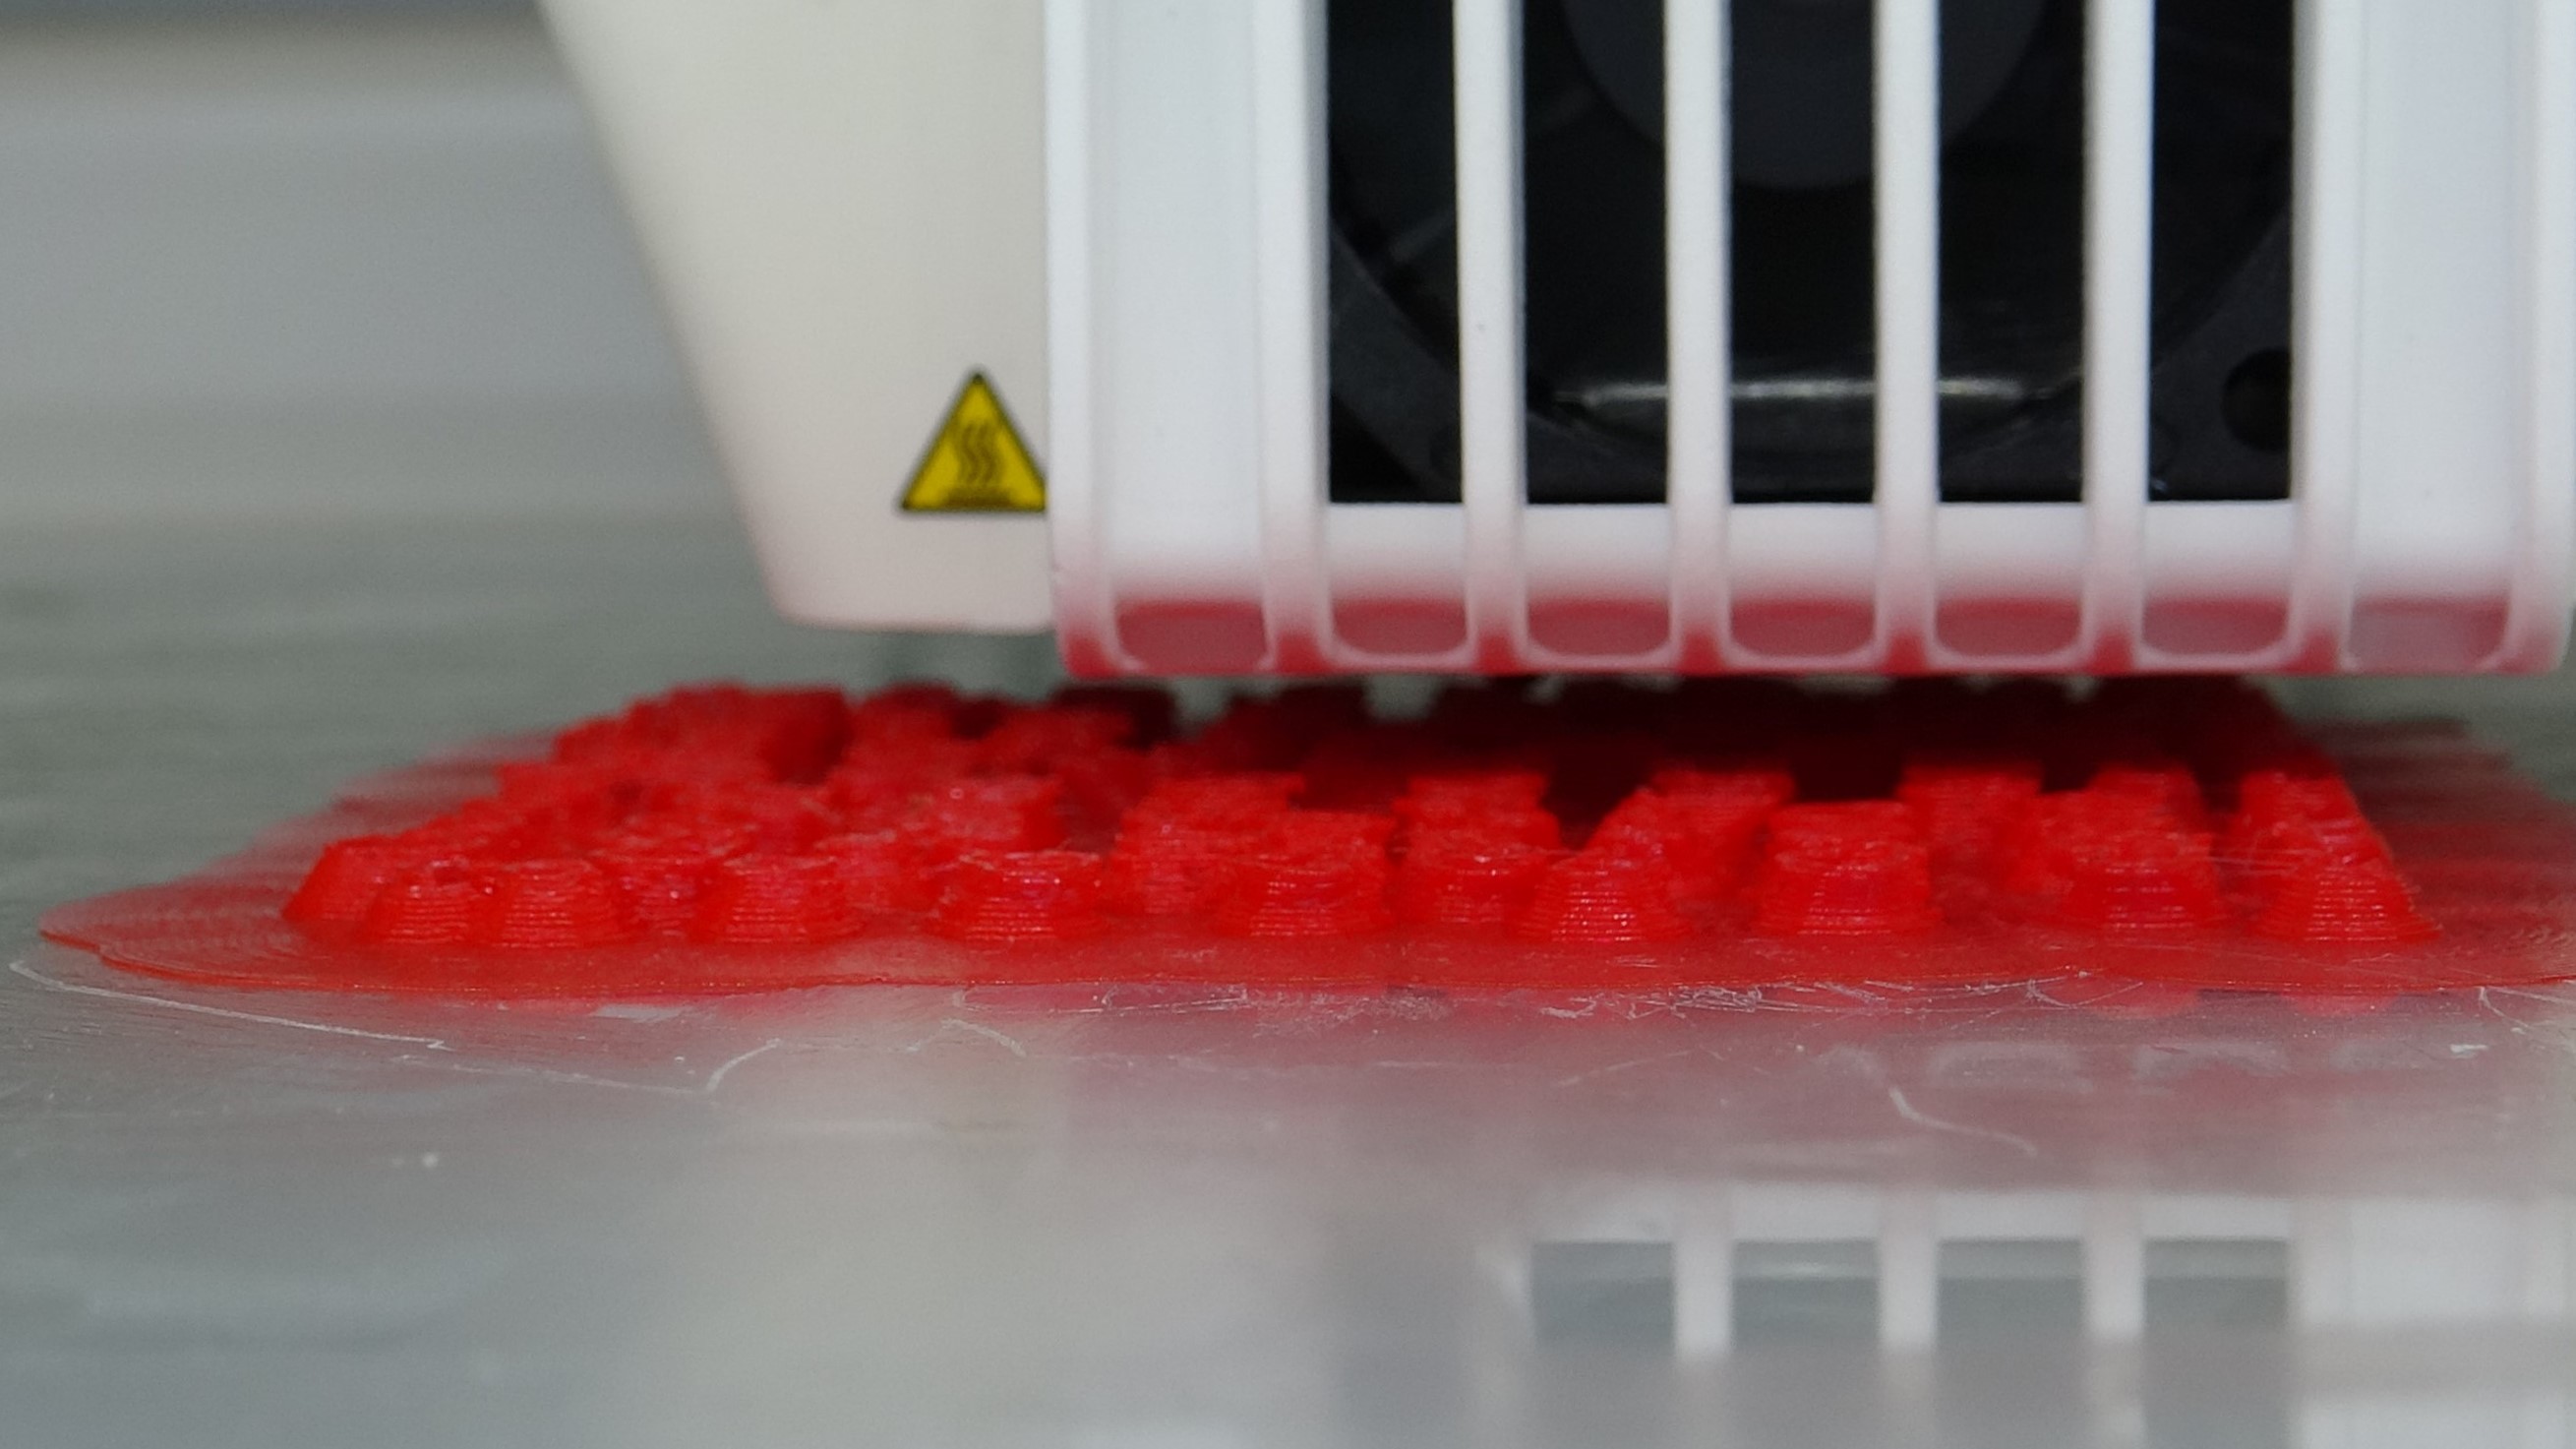
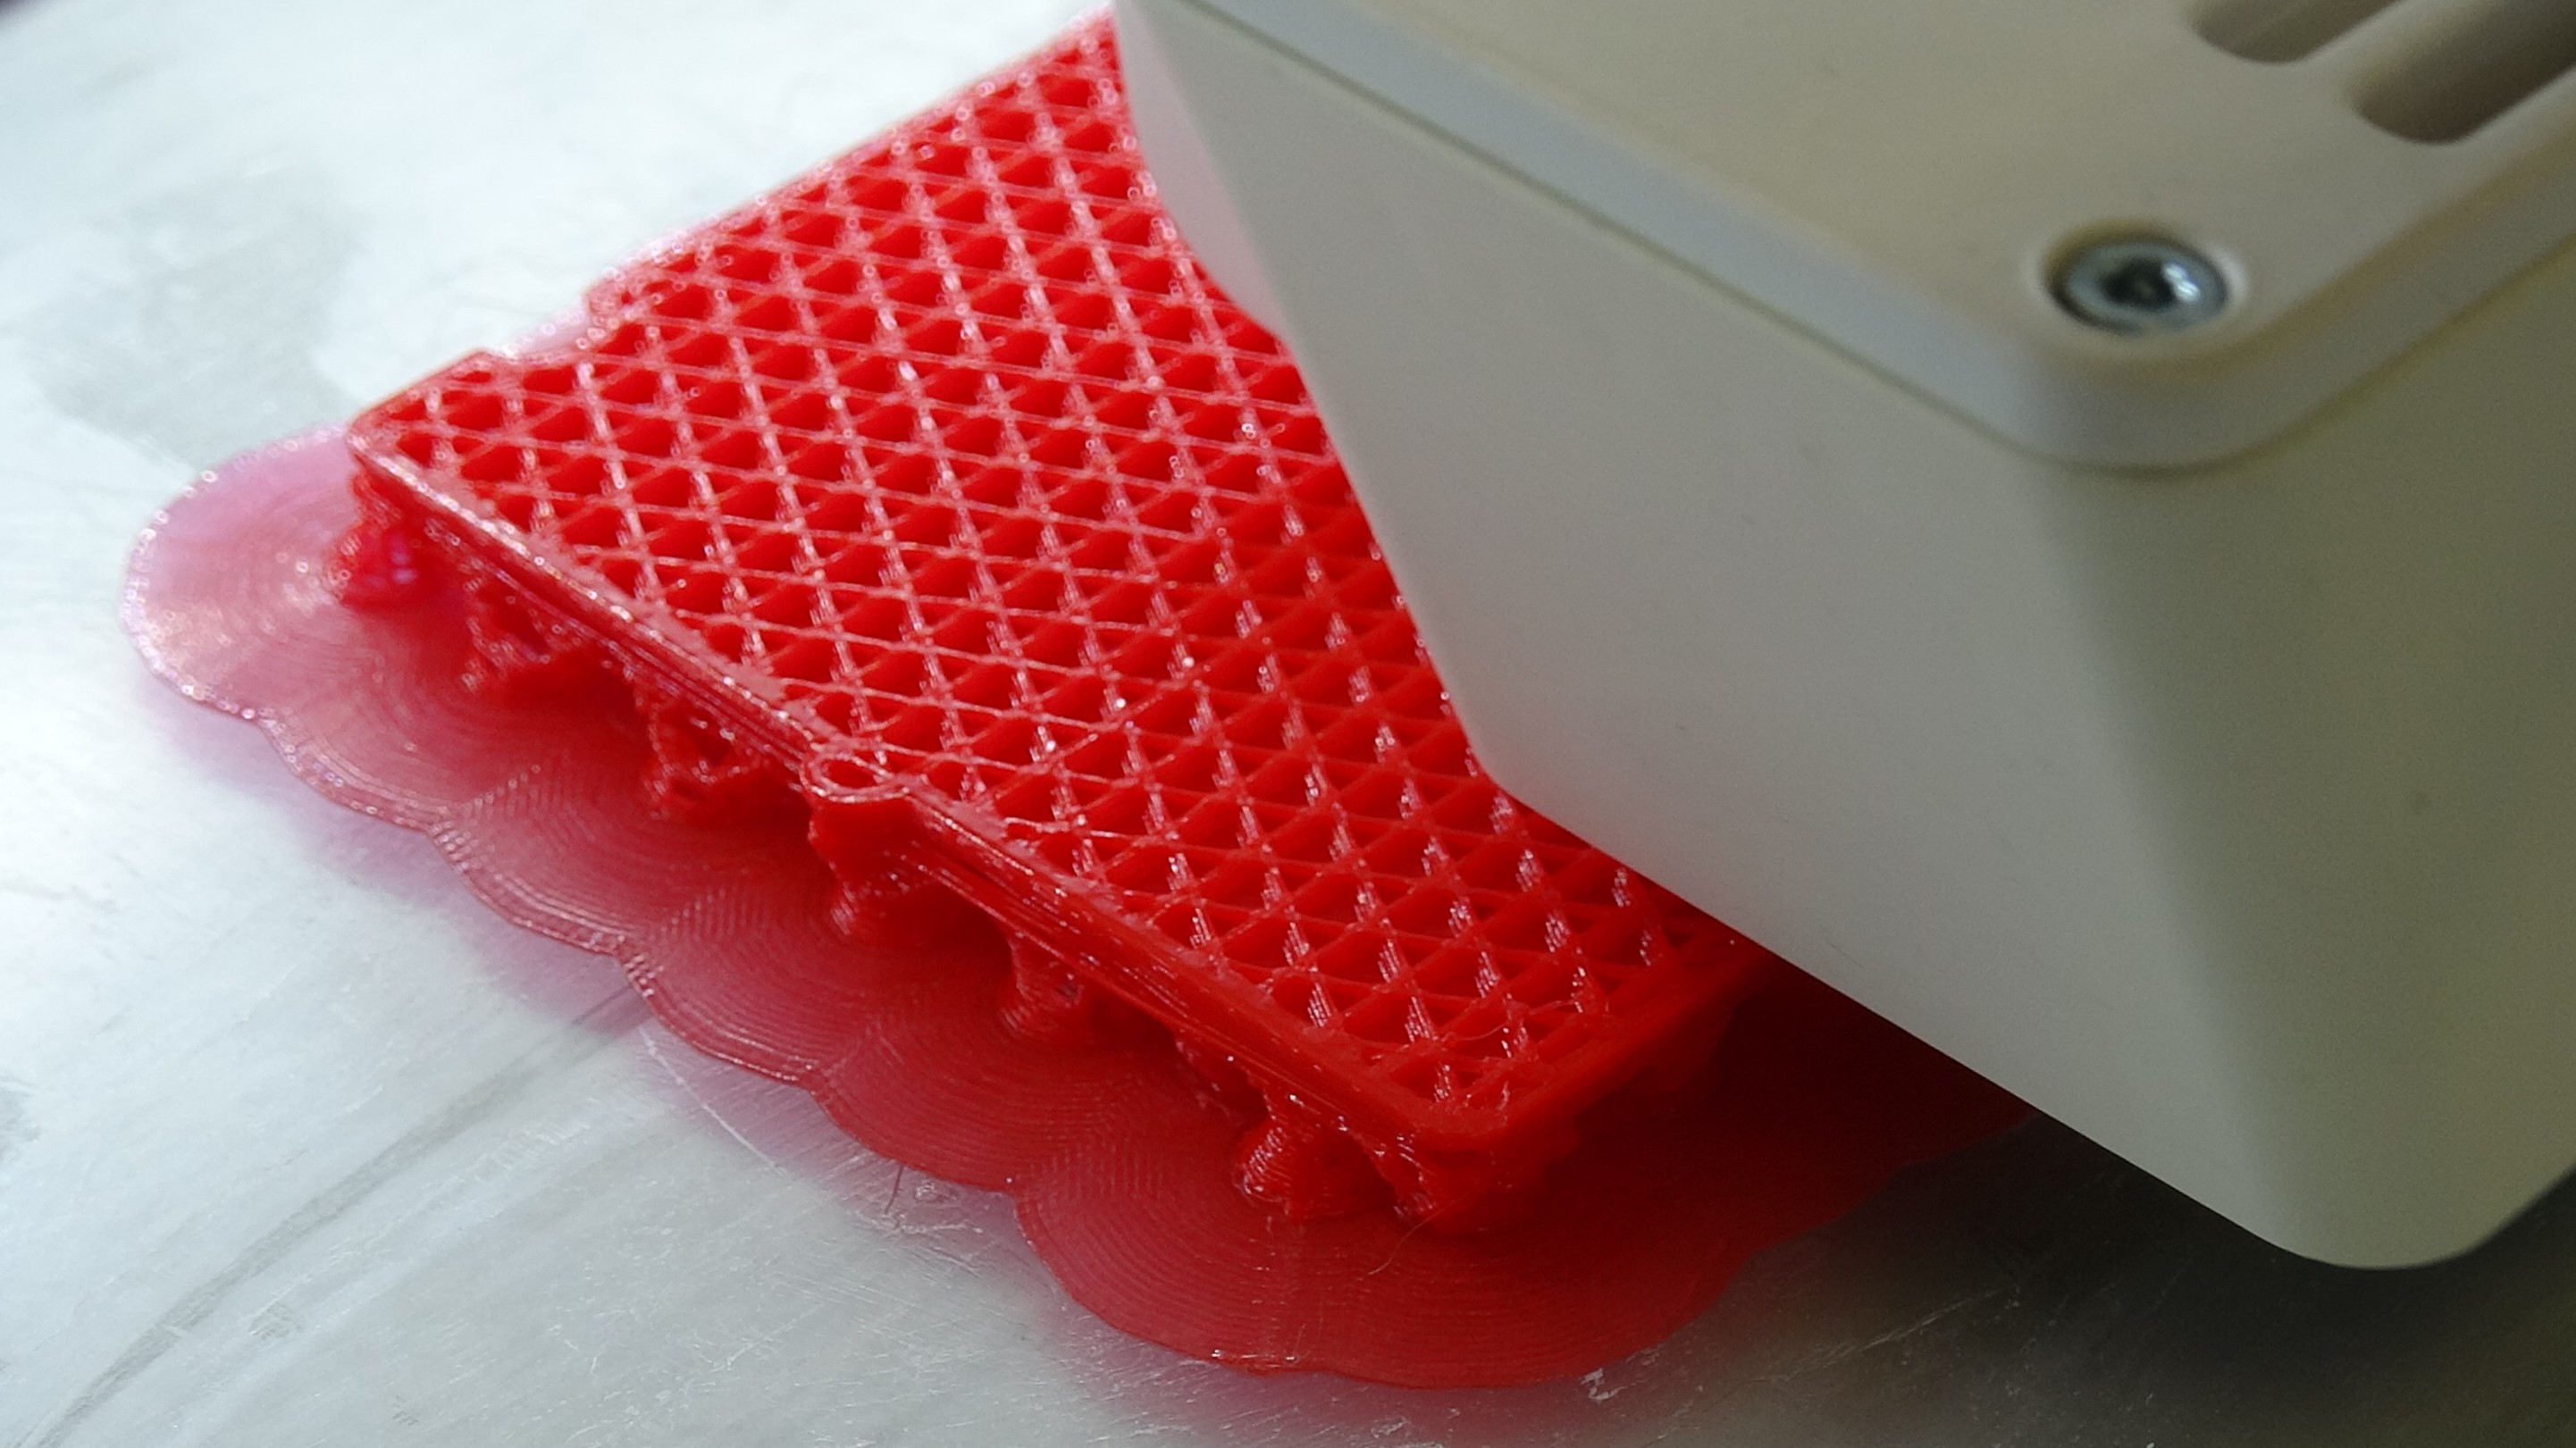
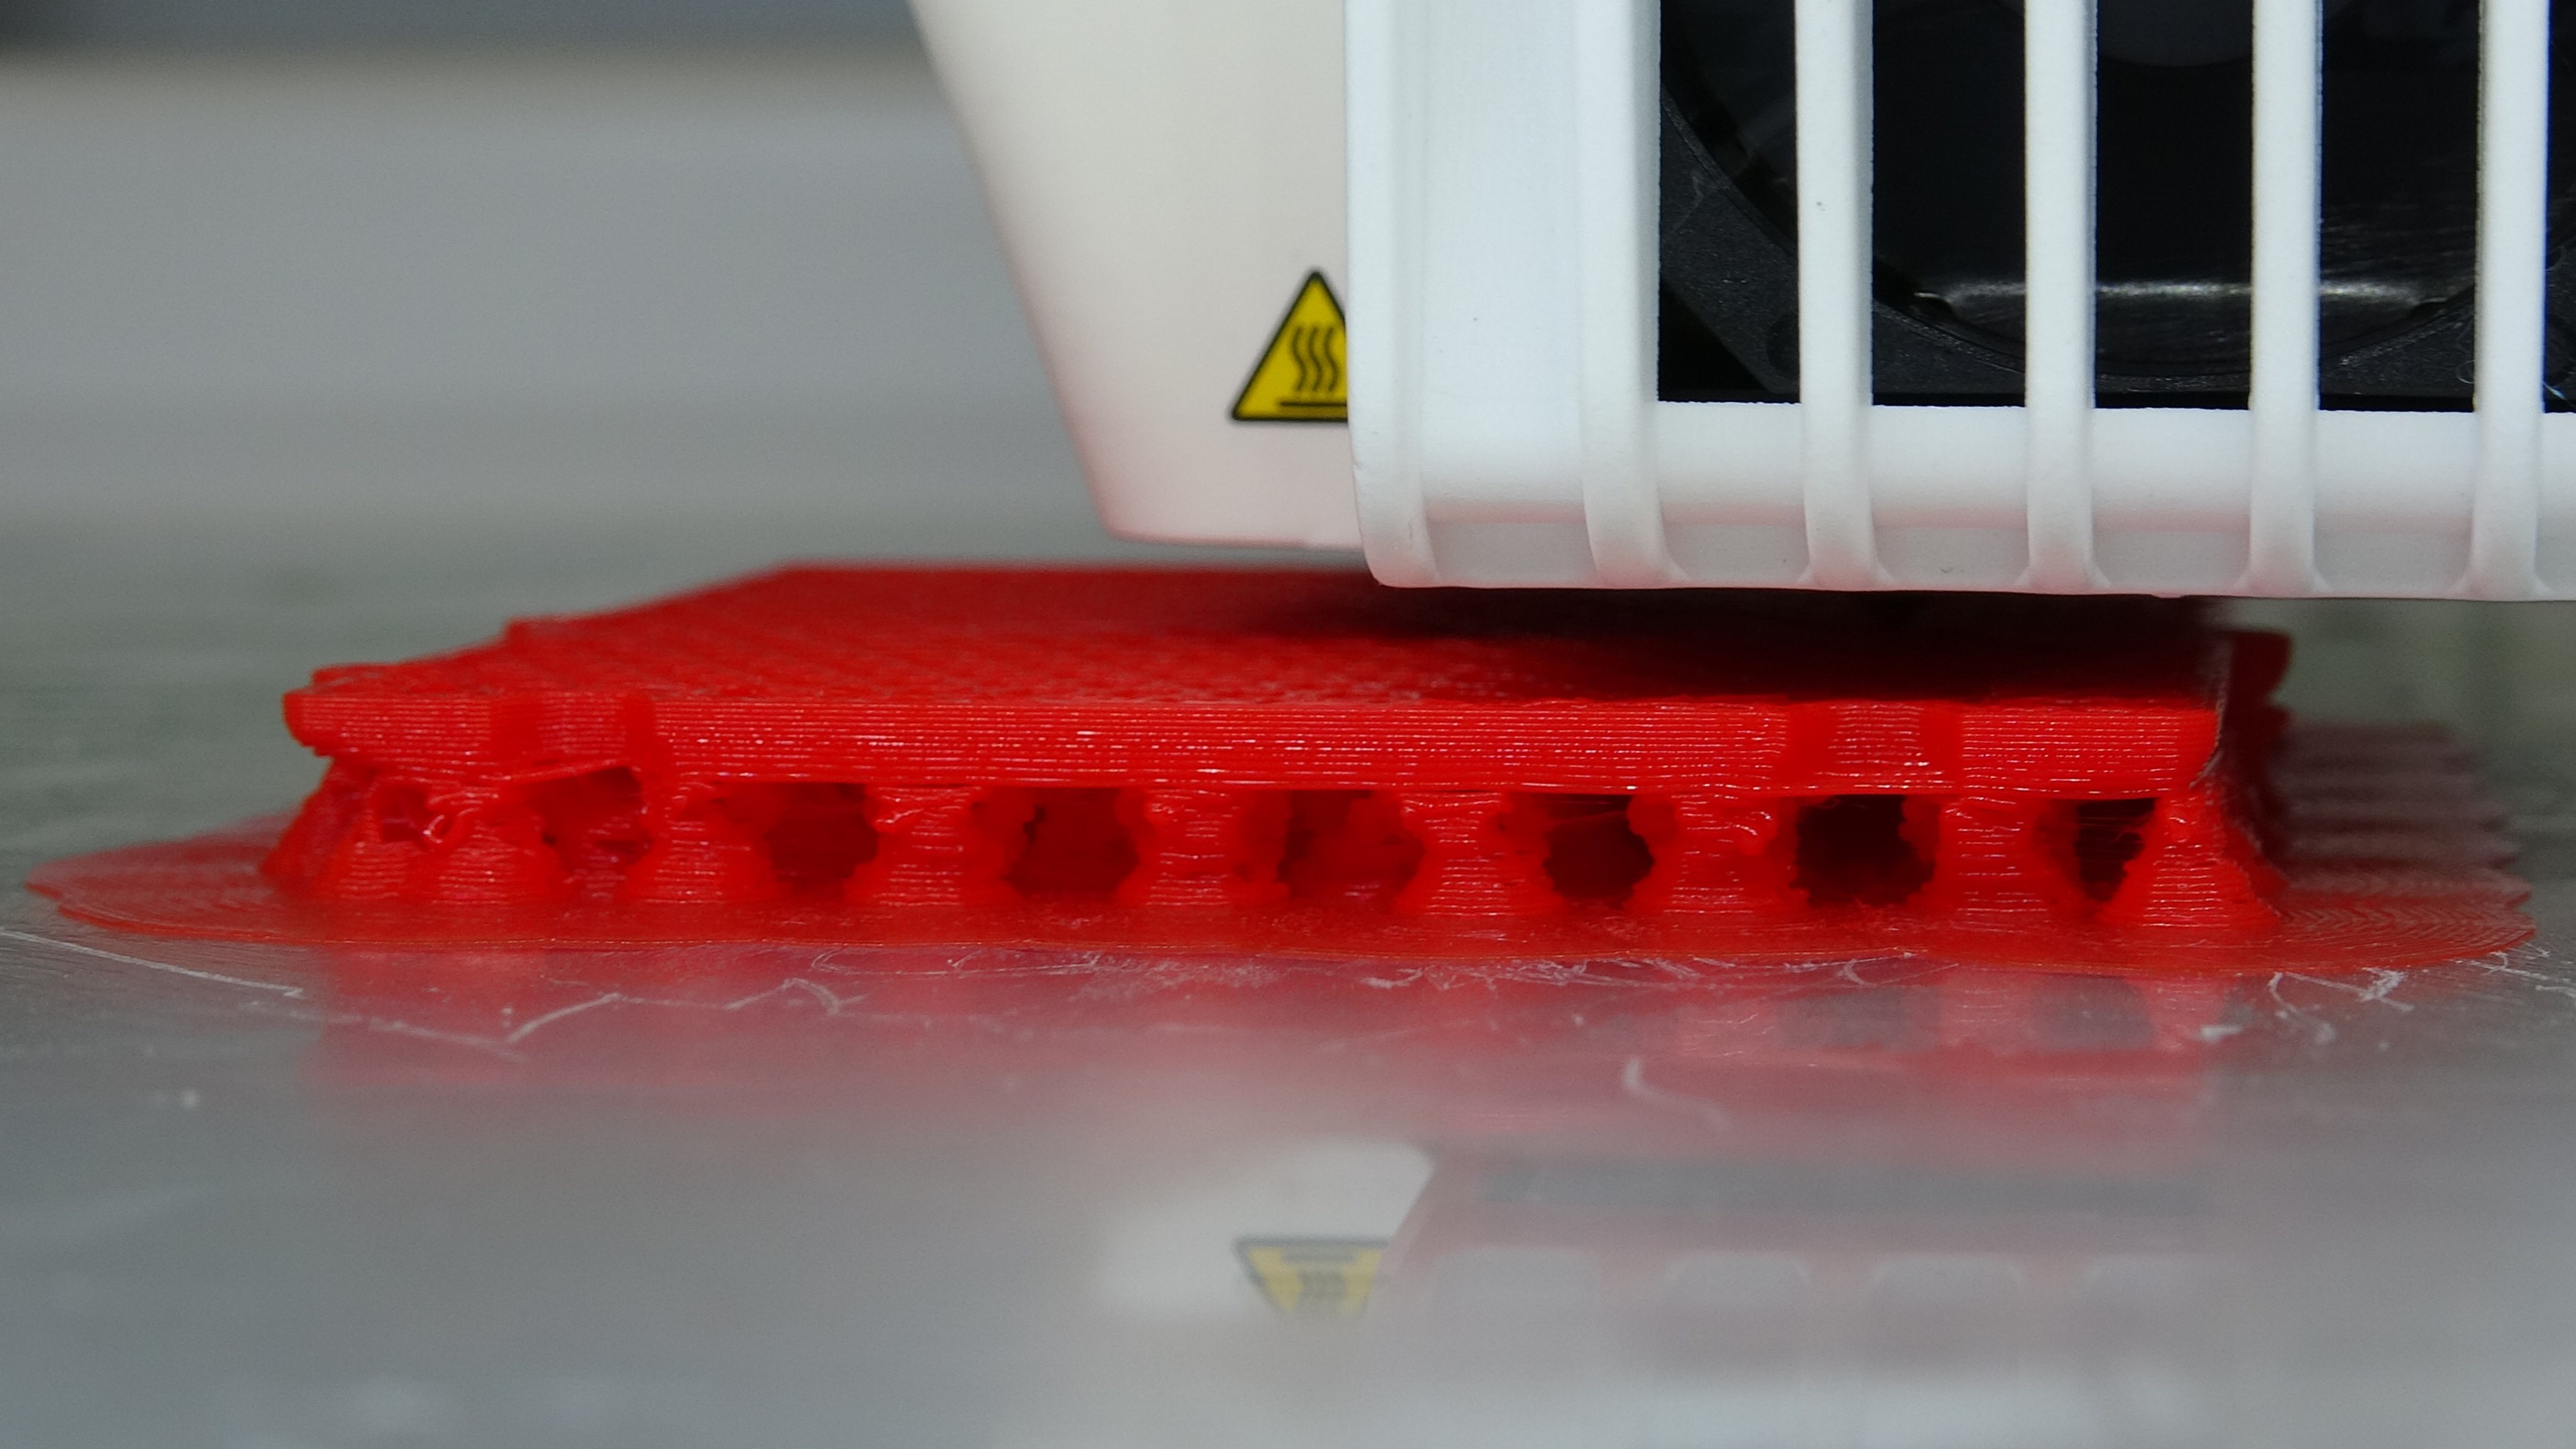
Printing instructions
Dynamic Labyrinths: 3D models
This guide provides a step-by-step process on how to 3D print the building blocks available for download here. You’ll need a 3D printer and a pre-installed 3D printing software (like Ultimaker Cura, PrusaSlicer, Simplify3D, etc.) to get started.
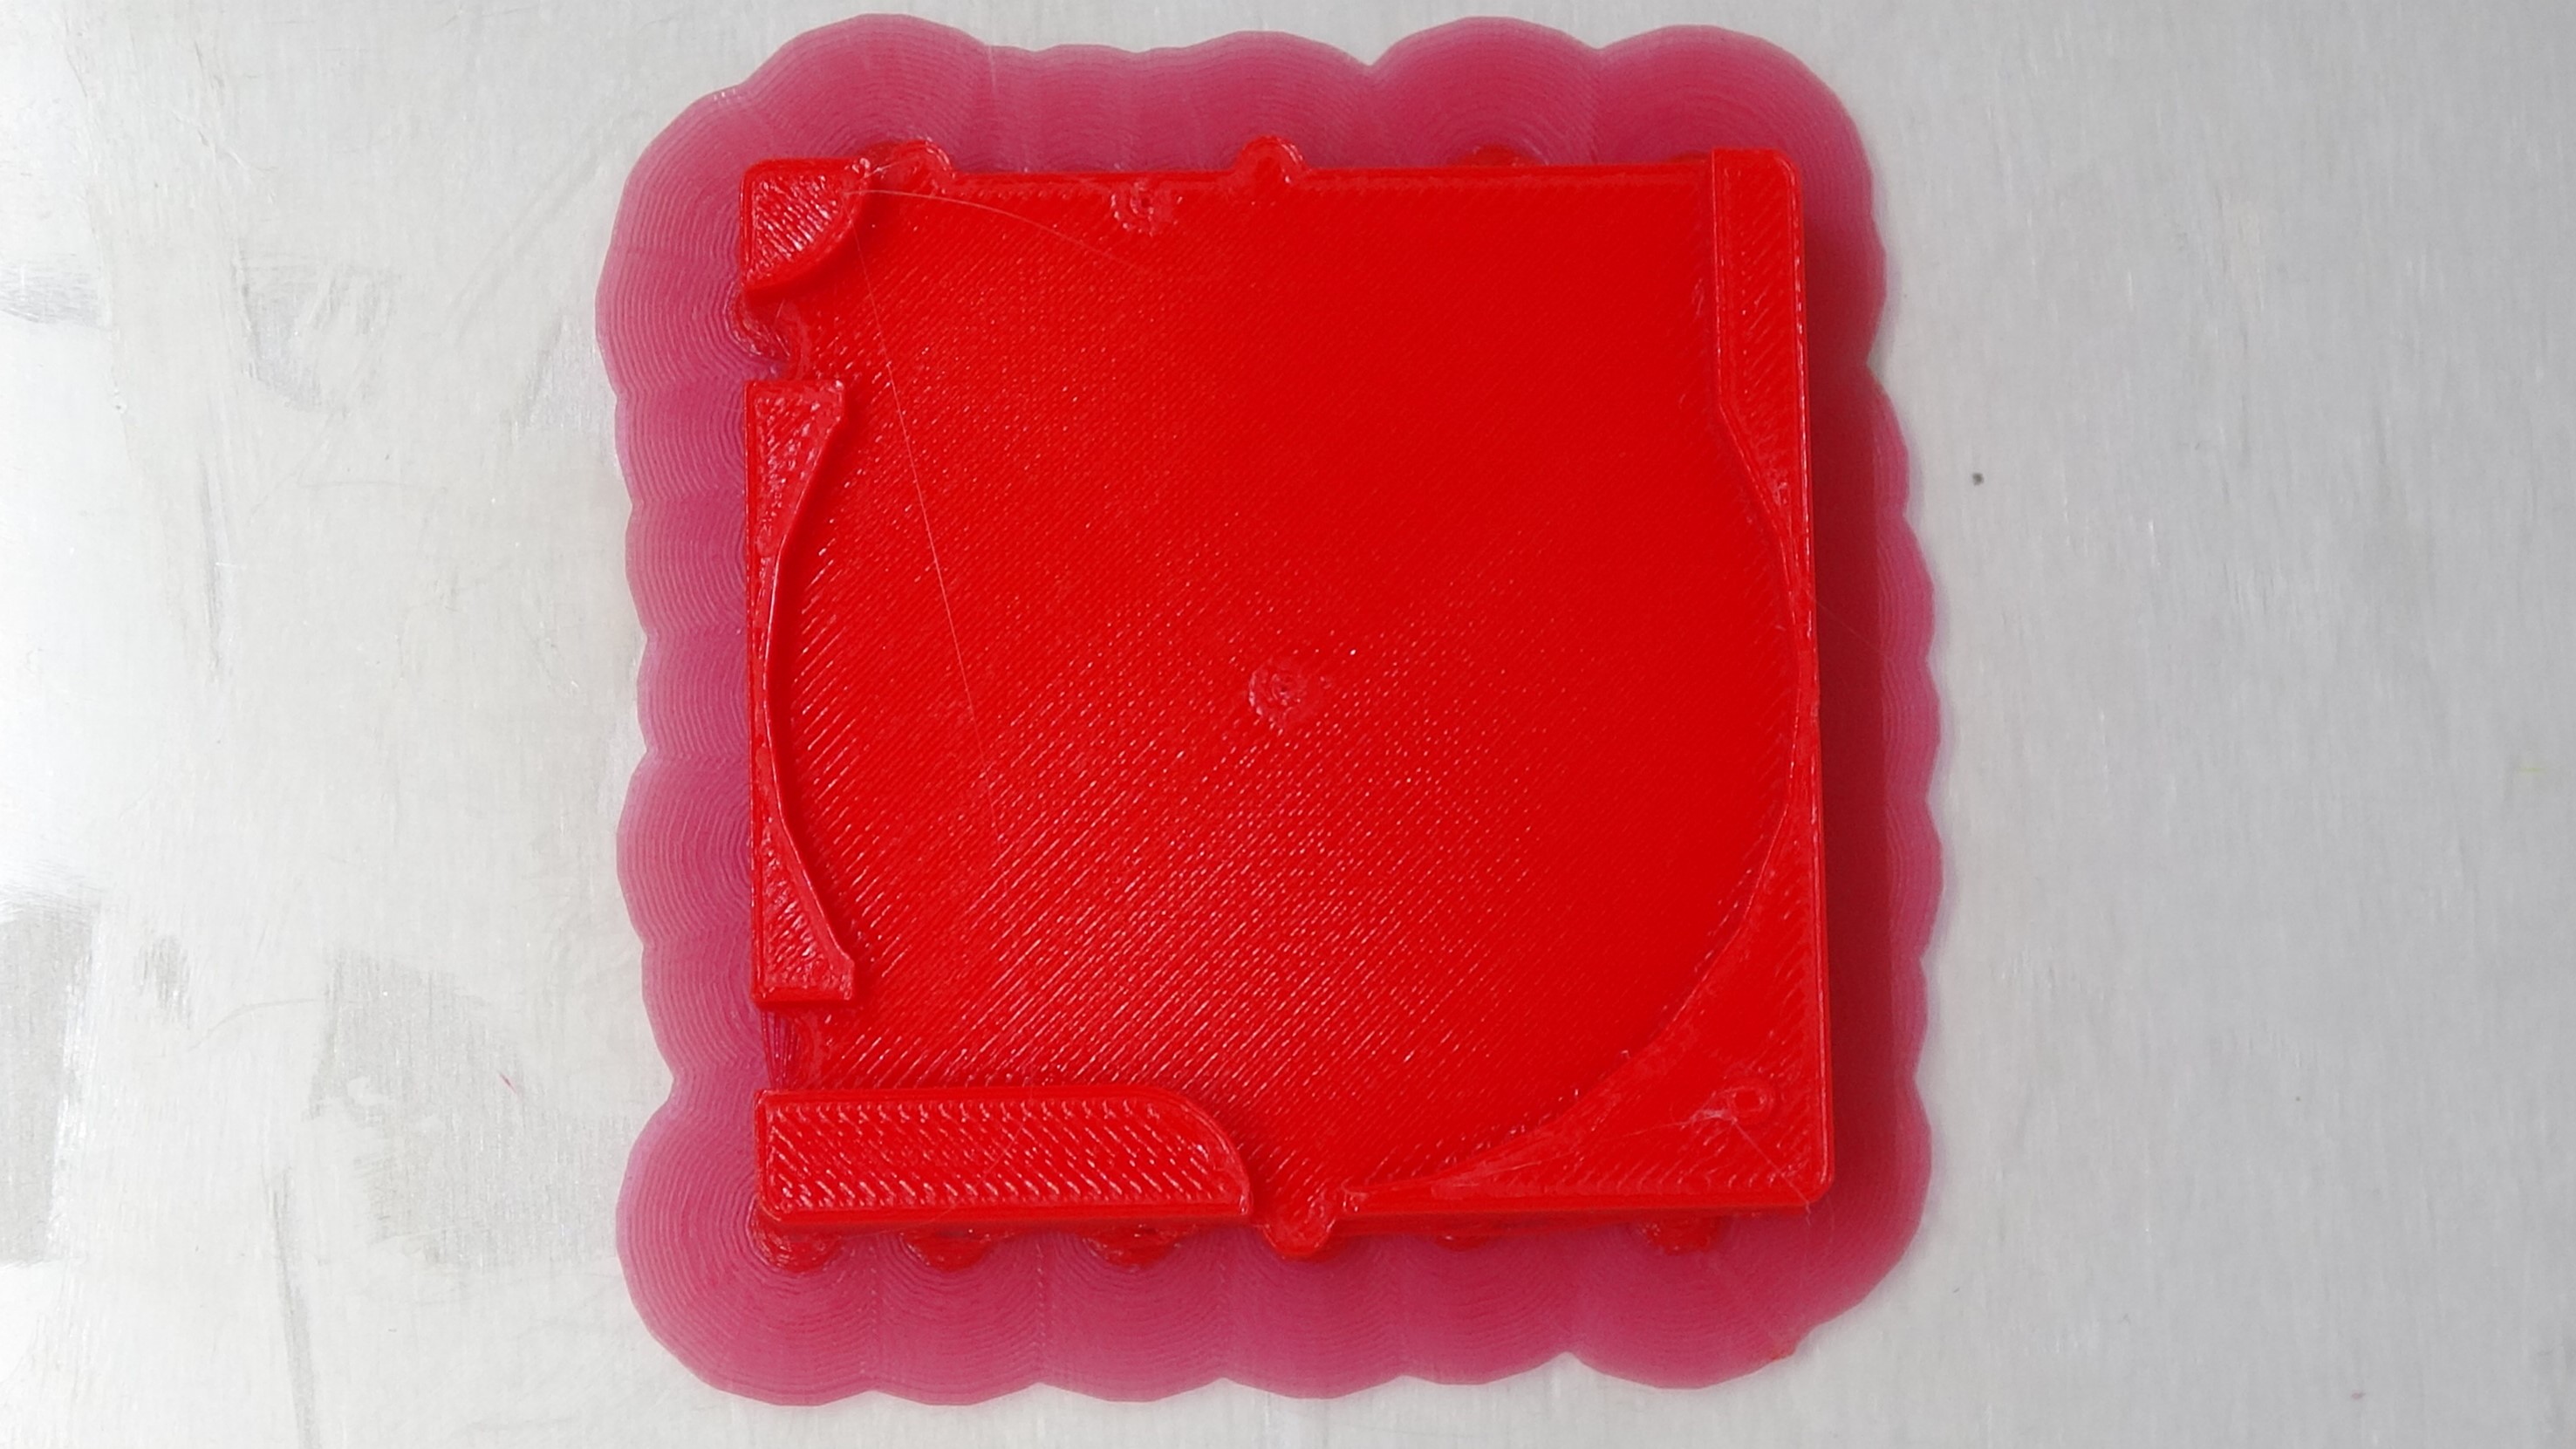
The building blocks for Dynamic Labyrinths are categorized into two types by quality: path elements (straight line, intersection, left/right curve, and left/right junction) and controller elements (switch, flip-flop, counter). To better understand the qualitative differences between these types, we recommend printing path building blocks and switch blocks in different colors (for instance, path elements in grey and controllers in red).
Additionally, you can print figures and start/end path components in unique colors. This will help you assign the figures to their corresponding paths more easily.
- Download the Building Block Files: Download the zip-archive that contains all the building block print files in your desired file format (e.g., STL, OBJ, 3MF).
- Import the Model: Open your 3D printing/slicing software (e.g. Ultimaker Cura, PrusaSlicer, Simplify3D), and import the model you want to print.
- Select the Correct 3D Printer: If necessary, ensure that the correct 3D printer is selected in your slicing software.
- Adjust the Model Settings: Customize the model as required. This could include adjusting the layer height, infill density, and printing speed.
- Slice the Model and Save the G-code:
- Slice the model using your software.
- Preview the printing process to check for any potential issues.
- Save the generated G-code (the file your 3D printer will use) to your computer or another storage medium.
- Load the G-code onto Your 3D Printer: Transfer the G-code to your 3D printer. This can be done via USB, SD card, or wireless connection, depending on your printer's capabilities.
- Start the Print: Select the G-code file on your 3D printer and initiate the printing process.
- Post-Printing Work: After the print is complete, you may need to rework the component. This could involve removing support structures and smoothing sharp edges.
- Assemble the controller elements: For controller elements (flip-flop, switch, counter), there's an additional step where the components are assembled (see video tutorials below).
Video instructions for assembling controller elements